Roof mount, tilt brackets, Z-brackets, and proper wire routing. We size and install solar panels on all RV types across Martin County. Single 200W panel installs from $350.
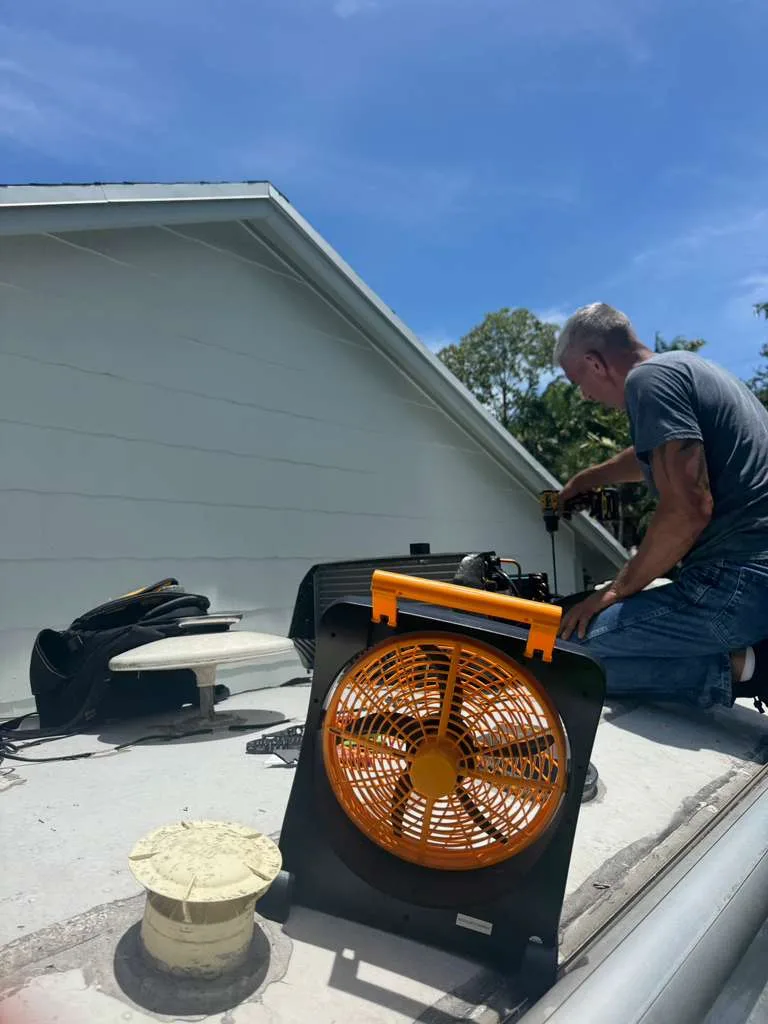
Solar panel mounting is the physical installation of photovoltaic panels on your RV's roof. It sounds simple, but there's more to it than slapping a panel up there and calling it done. The mounting method you choose affects everything from energy output to wind resistance to whether your roof stays leak-free five years down the road.
We install panels using three main methods: Z-brackets (the most common flat mount), tilt brackets (adjustable angle for better output), and through-bolt mounting for fiberglass roofs. Each approach has trade-offs, and the right choice depends on how you camp, how often you move, and how much roof space you've got to work with.
Every installation includes proper wire routing from the panels into the coach, sealed roof penetrations using Dicor self-leveling sealant, and connection to your charge controller. We work on motorhomes, fifth wheels, travel trailers, and toy haulers across Palm City and Martin County.
Solar panel mounting puts panels on your RV roof using Z-brackets, tilt brackets, or through-bolt hardware. A single 200W panel runs $350-550 installed, dual panels $700-1,100, and a four-panel array $1,400-2,200. Includes brackets, sealant, wire routing, and controller hookup.
We measure your available roof space, check the substrate material, and map out AC units, vents, and antennas to find the best panel placement with zero shading.
Z-brackets or tilt mounts get secured to the roof with stainless steel hardware. Every penetration point is prepped and sealed with Dicor self-leveling sealant to prevent leaks.
Solar cables run from the panels through a weatherproof roof entry gland into the coach. We keep cable runs short and use the correct gauge wire to minimize voltage drop.
Panels get wired to your charge controller (series or parallel depending on the setup), and we verify output voltage, amperage, and charging function under real sun conditions.
| Service | Price Range |
|---|---|
| Single 200W Panel Install (Z-brackets) | $350 - $550 |
| Dual Panel Install (400W) | $700 - $1,100 |
| Quad Panel Array (800W) | $1,400 - $2,200 |
| Tilt Bracket Upgrade (per panel) | $75 - $125 |
| Wire Routing Only (existing panels) | $95 - $175 |
Pricing includes panels, brackets, sealant, wiring, and labor. Final quote depends on your roof type and setup.
Whether you're going solar for the first time or upgrading an existing setup, here's when it makes sense to get panels professionally mounted:
A single 200W panel installation runs $350-550 including brackets, sealant, and wiring entry. A dual panel setup costs $700-1,100, and a four-panel array runs $1,400-2,200. Price depends on your roof type and the mounting hardware your setup needs.
Flat mount (Z-brackets) works best for full-timers who travel often since there's no wind resistance. Tilt brackets boost output by 15-25% when you're parked for extended periods because you can angle the panel toward the sun. Most Palm City RVers do well with flat mount since Florida sun is strong year-round.
Not when they're mounted correctly. We use self-leveling Dicor sealant on every fastener penetration, the same stuff RV manufacturers use. We also check the roof substrate before drilling to avoid hitting wiring or supports. The brackets distribute weight evenly, and the sealant gets recoated to prevent leaks.
It depends on what you're trying to power. A single 200W panel handles basic charging for lights, phone chargers, and a 12V fridge. Two panels (400W) support most weekend campers comfortably. If you're running an inverter for a microwave or coffee maker, you'll want 600-800W or more. We'll size the system based on your actual usage.
A single panel installation usually takes 2-3 hours including bracket mounting, wire routing into the coach, and connection to your charge controller. A dual setup runs about 3-4 hours. Larger four-panel arrays can take most of the day depending on how complex the wire routing is.
Absolutely. We mount panels on EPDM rubber, TPO, fiberglass, and aluminum roofs. Each material needs a slightly different approach. Rubber roofs get bracket feet bonded and screwed with EPDM-compatible sealant. We won't use silicone on a rubber roof because it causes adhesion problems down the road.
Sometimes. If you're adding a single panel, the existing wiring from the roof entry to the charge controller is usually fine. But larger arrays push more amperage, and undersized wire creates voltage drop that kills efficiency. We check the whole run and upgrade to the correct gauge if needed. Typically 10 AWG for runs under 20 feet and 8 AWG for longer distances.
We'll survey your roof, recommend the right panel setup, and handle the full installation at your location in Martin County.
Call 772-271-5270